Written by
BusyBee Commerce
7 September 2026
Learn how to download and install Phoenix Cart from start to finish. This beginner-friendly guide covers hosting preparation, database setup, file uploads, the Phoenix Cart installer, security checks and essential post-install configuration.
This step-by-step guide explains how to download Phoenix Cart, check that your hosting meets the minimum requirements, create the required database, upload the Phoenix Cart files and work through the web-based installation process. It is designed for store owners installing Phoenix Cart manually for the first time and stops once the software has been successfully installed.
Beginner friendly. You do not need to be a PHP developer to complete a standard Phoenix Cart installation.
This guide covers a manual installation so you understand where the files and database are located.
Downloading Phoenix Cart, checking the minimum requirements, uploading files, database creation and completing the installer.
Before downloading Phoenix Cart, it is worth preparing everything required for the installation. Having your hosting and database information ready makes the installation considerably easier.
Before uploading Phoenix Cart, check that your web hosting account meets the minimum software requirements. These requirements relate to the software running on the server rather than the size of your hosting package.
| Requirement | Minimum |
|---|---|
| PHP | PHP 7.3 or later |
| Database | MySQL 5.7.7 or later, or MariaDB 10.2.2 or later |
| PHP MySQLi Extension | Enabled |
| PHP Intl Extension | Enabled |
| allow_url_fopen | Enabled |
| file_uploads | Enabled |
| session.use_trans_sid | Disabled |
| session.auto_start | Disabled |
Your hosting package needs to be capable of running Phoenix Cart. Most modern Linux-based PHP hosting packages should provide the required features, but it is still worth checking before uploading the application.
Open your hosting control panel and find the PHP configuration or PHP settings section. Check the PHP version and make sure the required PHP extensions and settings are available.
You should also confirm that your hosting account allows you to create a MySQL or MariaDB database and database user.
If you are unsure whether your hosting package meets these minimum requirements, provide the table above to your hosting company and ask them to confirm compatibility.
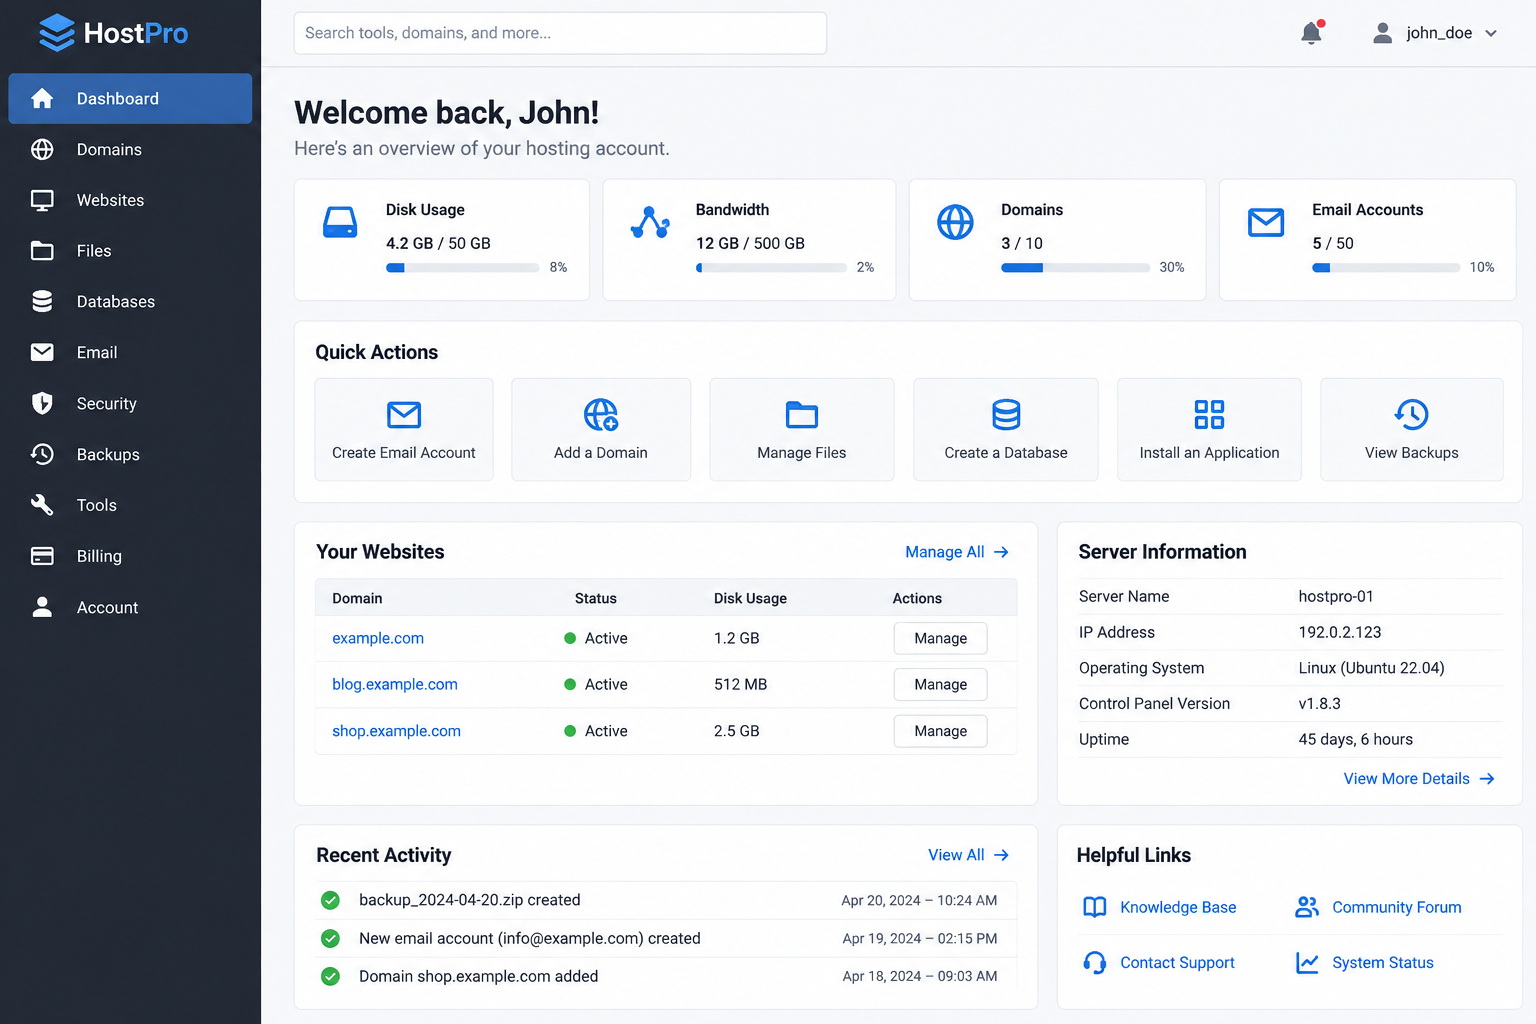
Phoenix Cart can potentially be installed in more than one way depending on the facilities provided by your hosting company.
Some web hosts provide automated software installers. If Phoenix Cart is available through your host, an automated installer may create the database, upload the application and perform much of the installation for you.
A manual installation gives you more control and helps you understand exactly where Phoenix Cart is installed.
You will download Phoenix Cart yourself, create a database, upload the files and then use the Phoenix Cart browser-based installer.
The remainder of this guide covers the manual installation process.
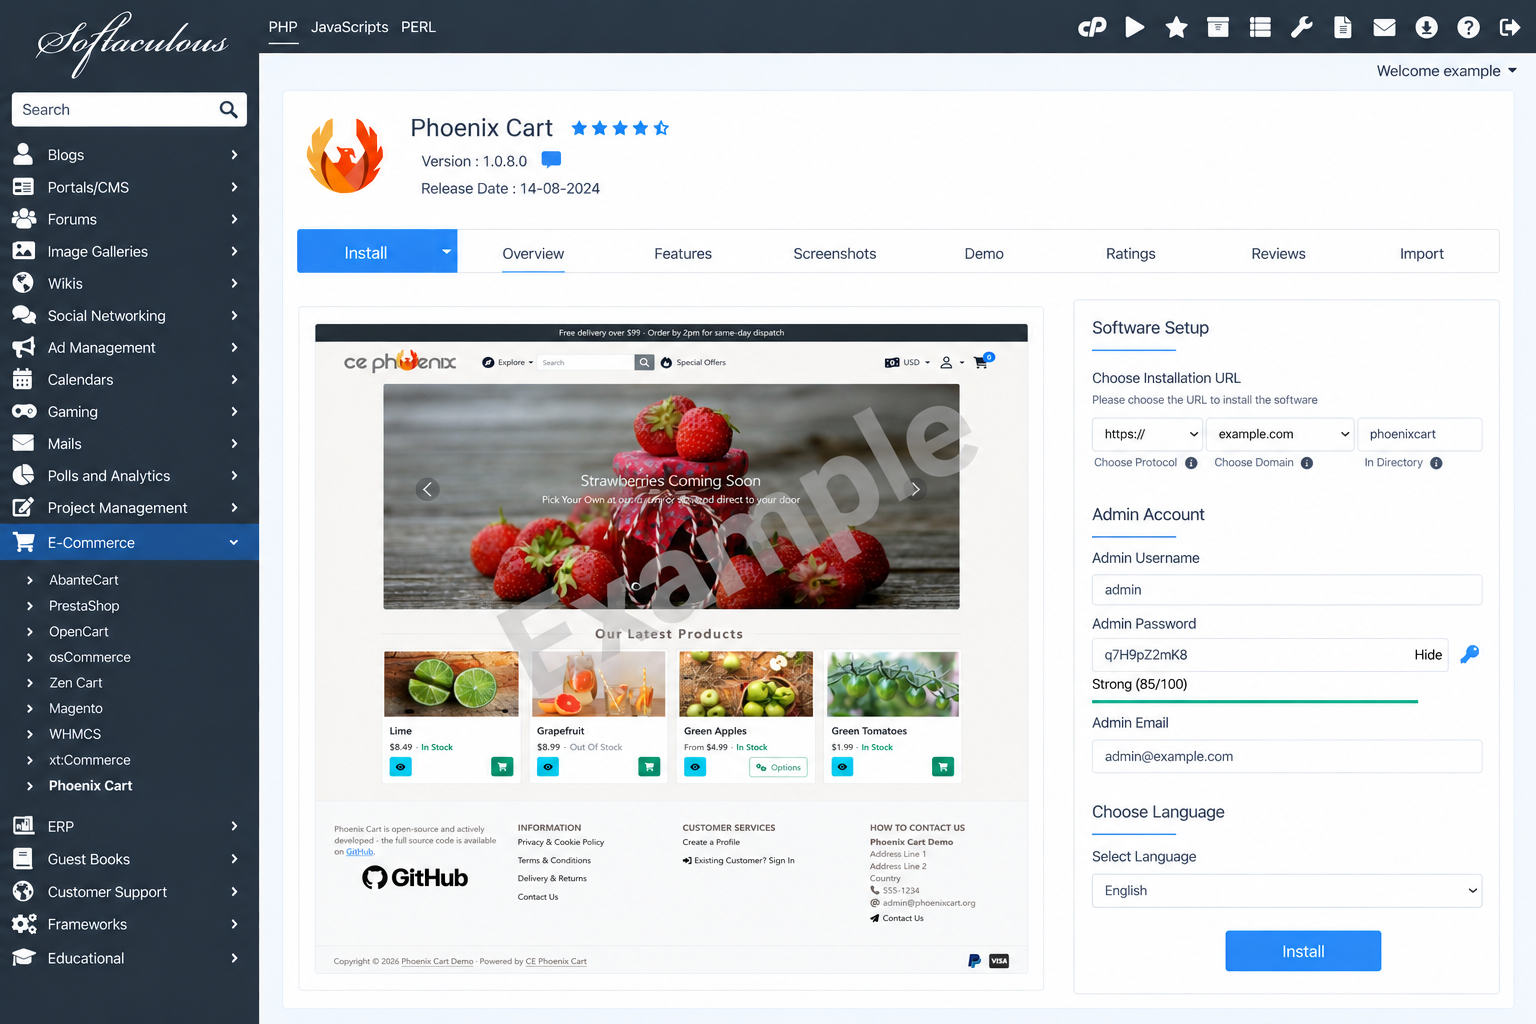
The first stage of a manual installation is obtaining a clean copy of Phoenix Cart.
Phoenix Cart is open-source software and its releases are made available through the official Phoenix Cart project.
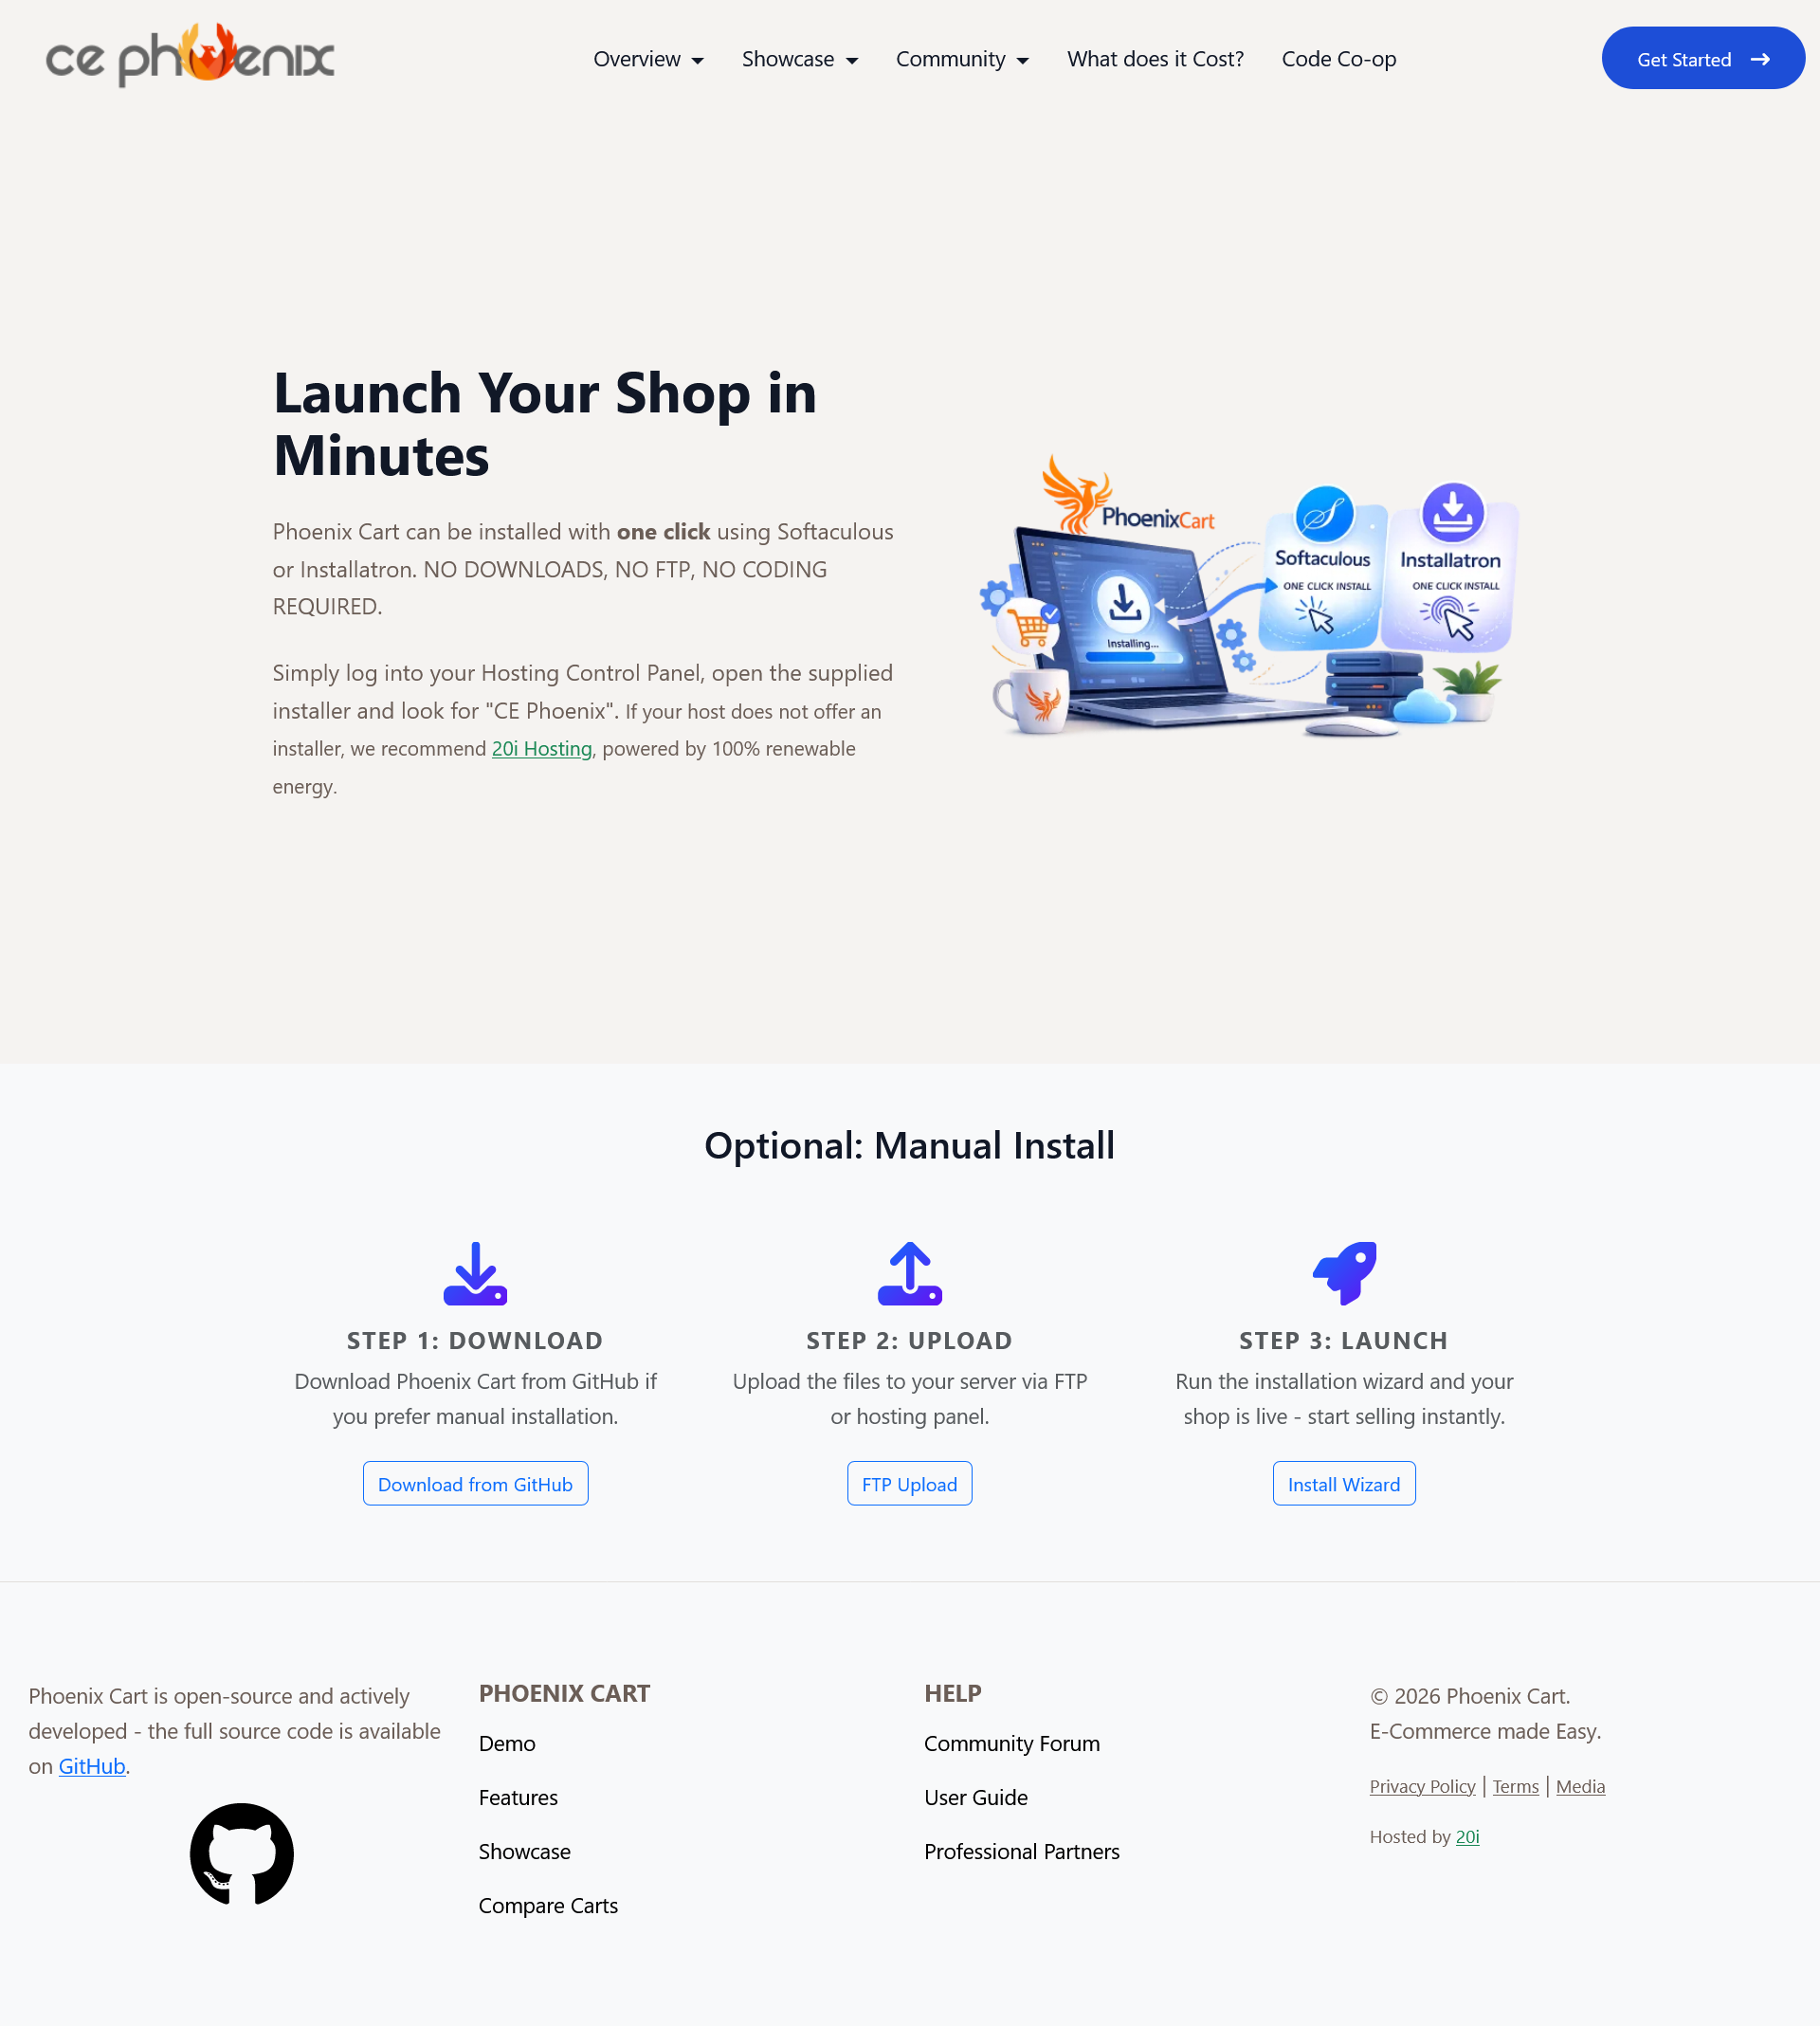
The Phoenix Cart package is normally downloaded as a compressed archive. The application files need to be extracted before they can be uploaded to your web space.
Inside the extracted package you should now see the Phoenix Cart files and folders.
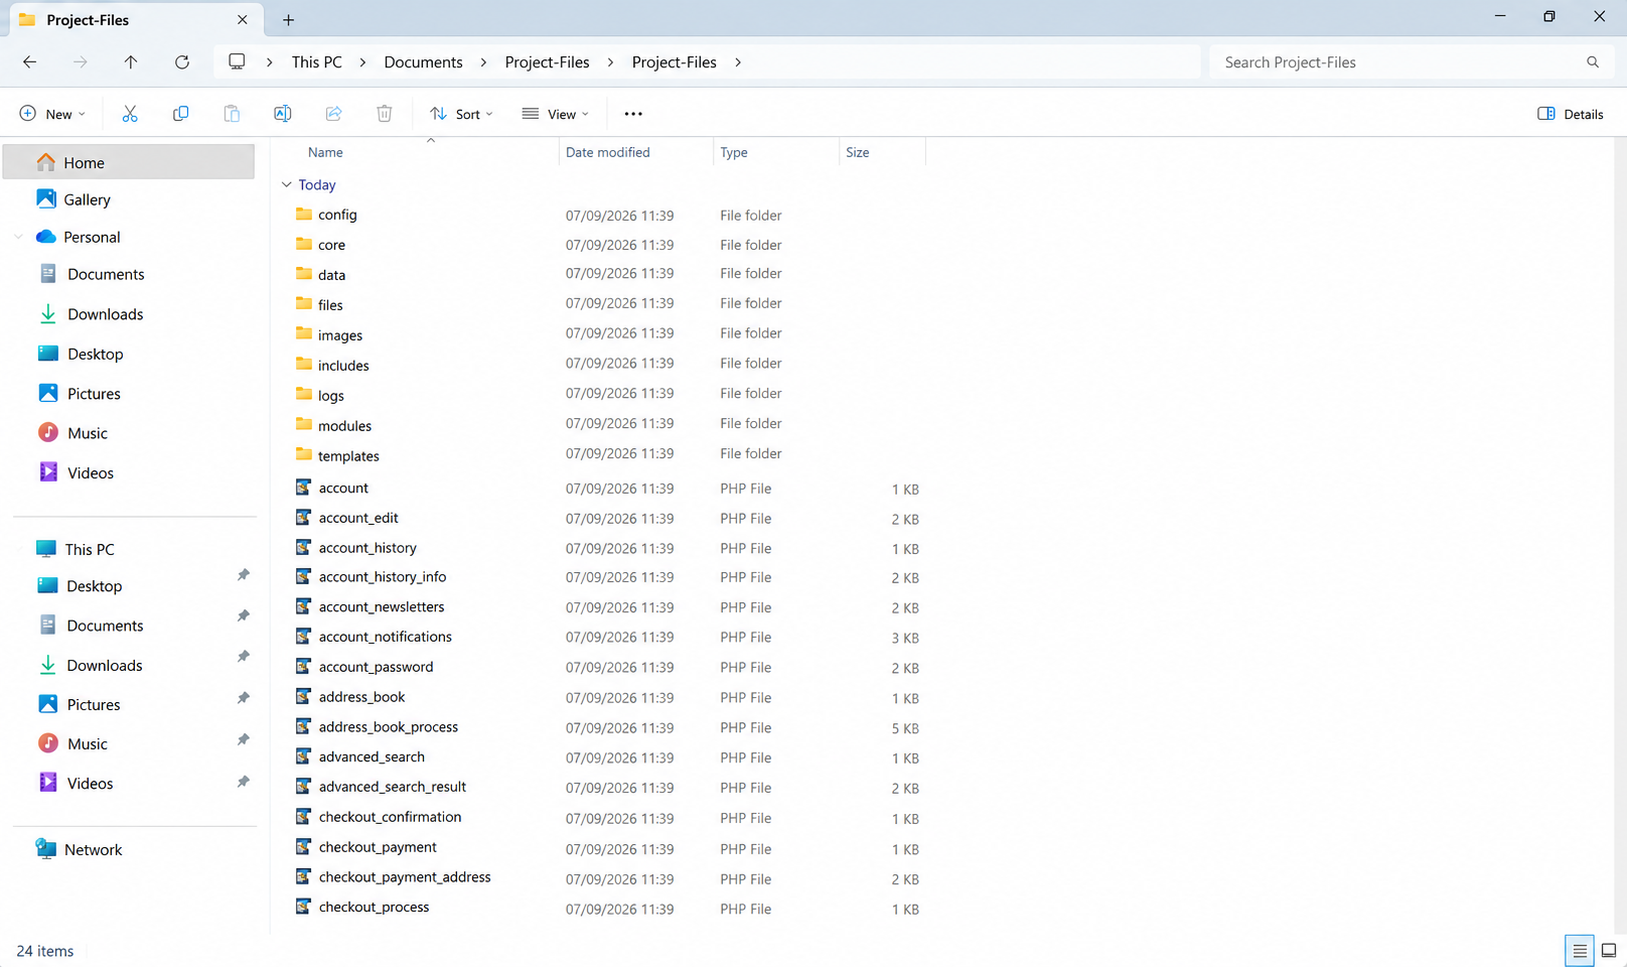
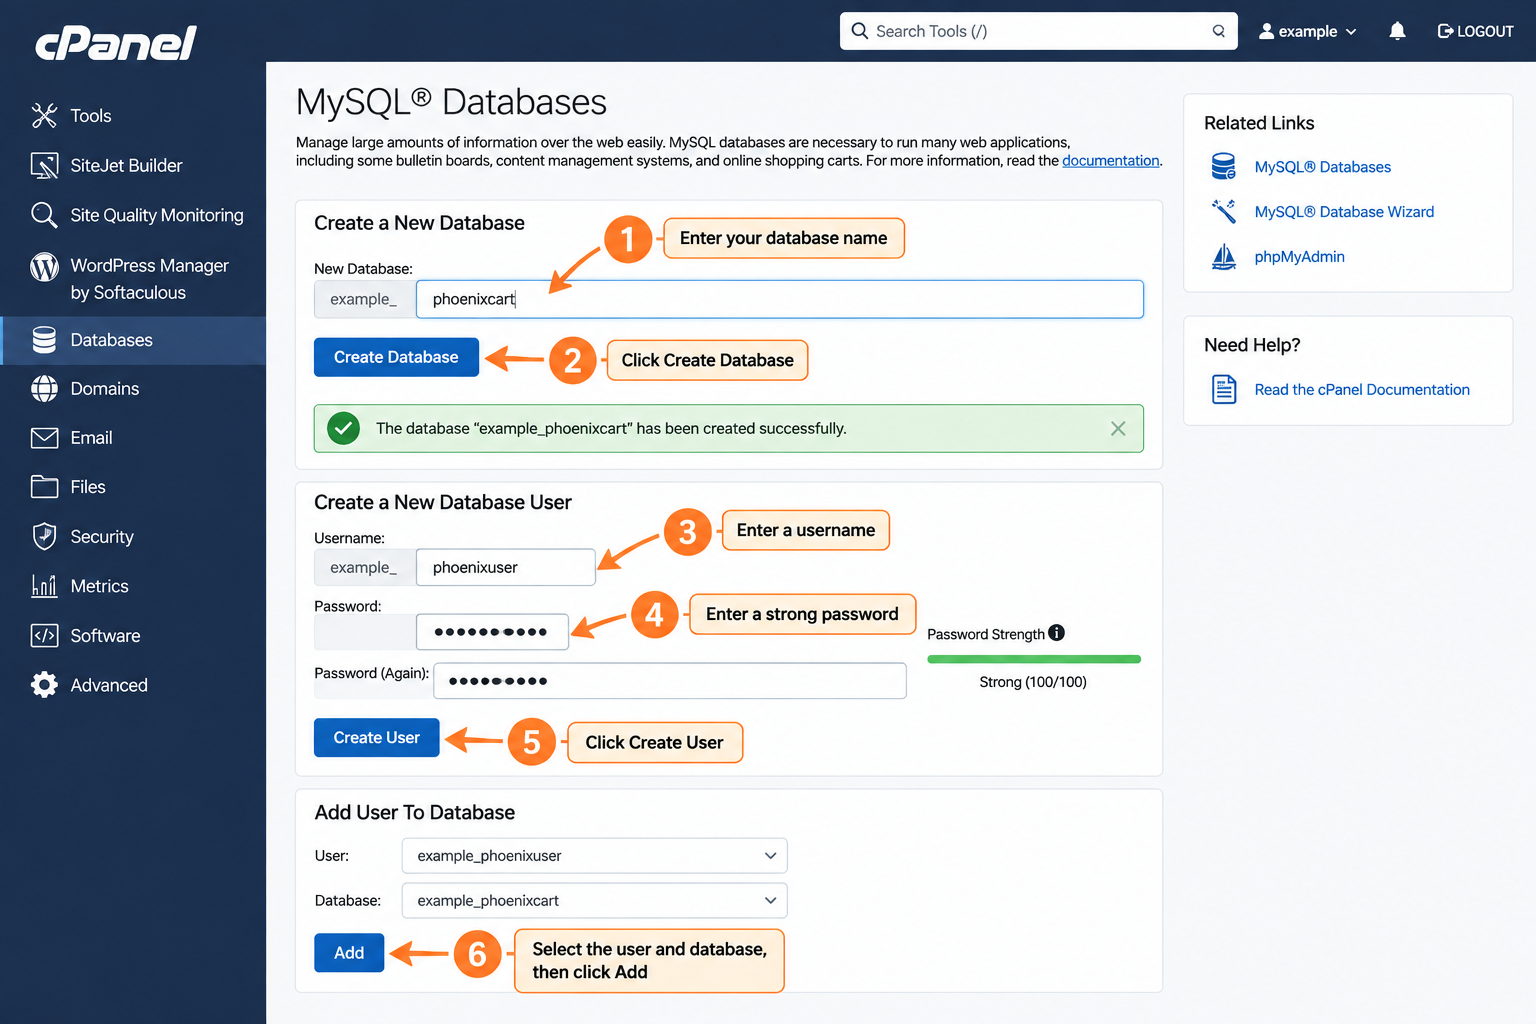
Phoenix Cart uses a MySQL or MariaDB database to store the information required by the application.
The database should normally be created through your hosting control panel before starting the Phoenix Cart installer.
The exact procedure varies between hosting providers, but you will generally need to:
| Setting | Example | Your Details |
|---|---|---|
| Database Server | localhost | ________________________ |
| Database Name | phoenix_store | ________________________ |
| Database Username | phoenix_user | ________________________ |
| Database Password | Your secure password | ________________________ |
Before uploading the files, decide whether Phoenix Cart will be the main website on your domain or whether it will run inside a subdirectory.
If Phoenix Cart will be your main website, visitors should reach it using an address similar to:
In this case, the Phoenix Cart application files should be placed directly inside the document root used by the domain.
You can also run Phoenix Cart from a directory such as:
In this situation, create a directory such as shop and upload the Phoenix Cart files there.
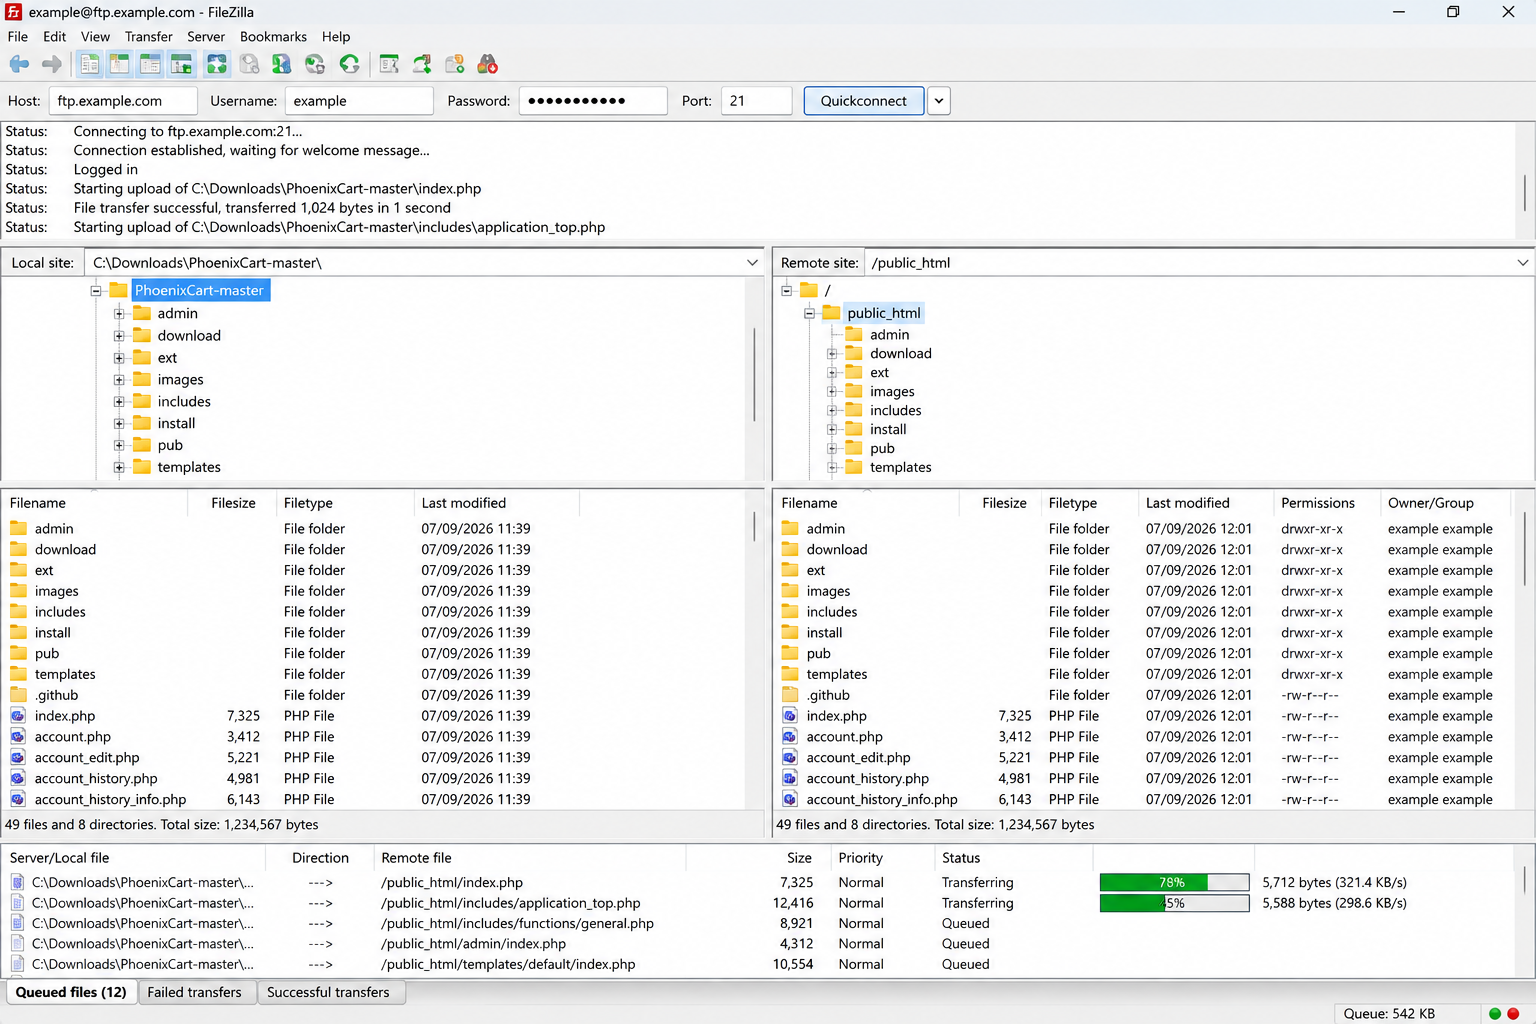
The extracted Phoenix Cart files now need to be transferred to your web server.
You can normally use one of the following:
The directory used to serve your website varies between hosting companies. Common names include:
Some hosting systems use a custom directory rather than one of these names. Check your hosting control panel if you are unsure.
If you are uploading with an FTP program such as FileZilla, you will normally need:
Connect to the server, navigate to the correct domain directory and upload the Phoenix Cart application files.
Once the upload has completed, open a web browser and visit the location where Phoenix Cart was uploaded.
For an installation at the root of the domain:
For a subdirectory installation:
Because Phoenix Cart has not yet been configured, the installation process should be displayed.
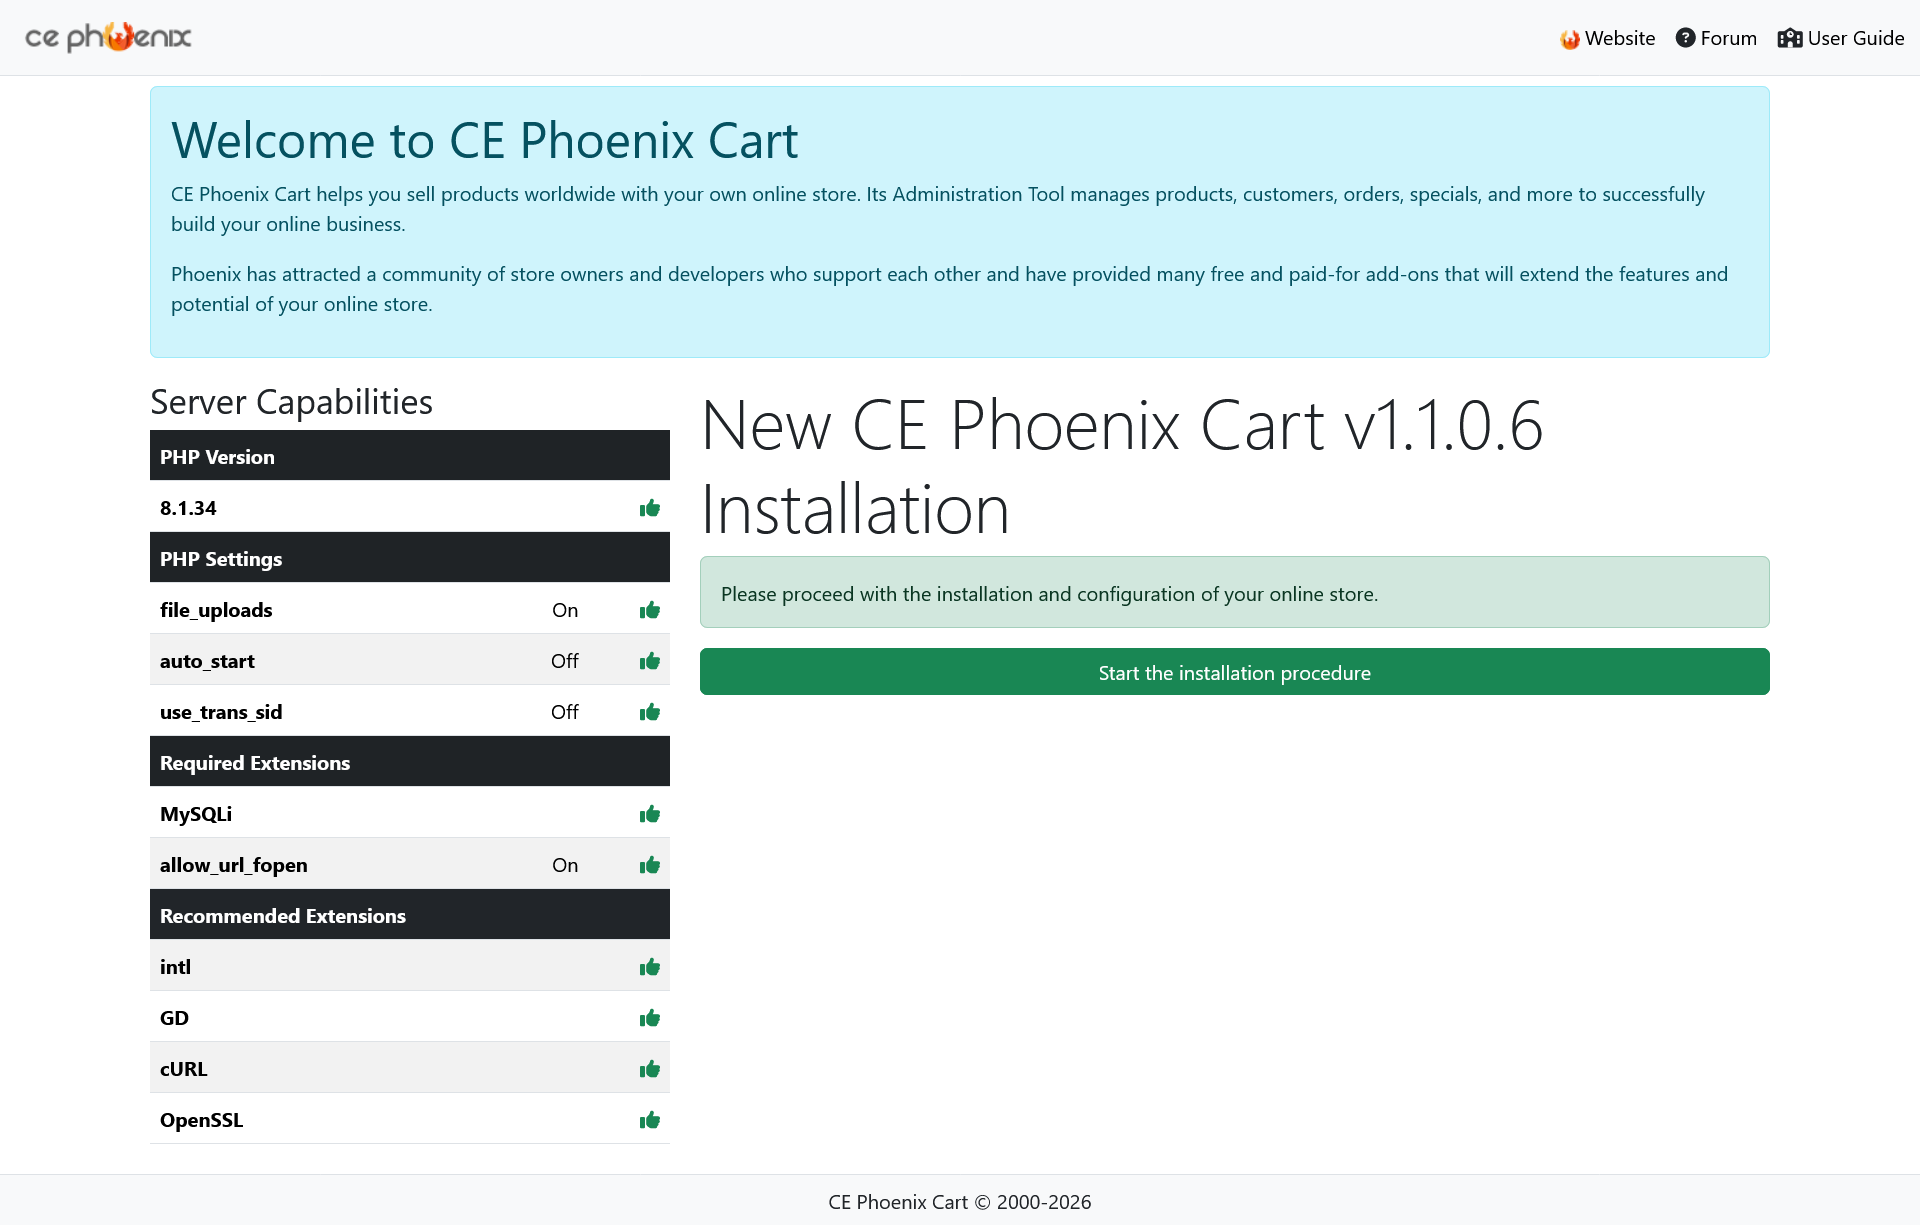
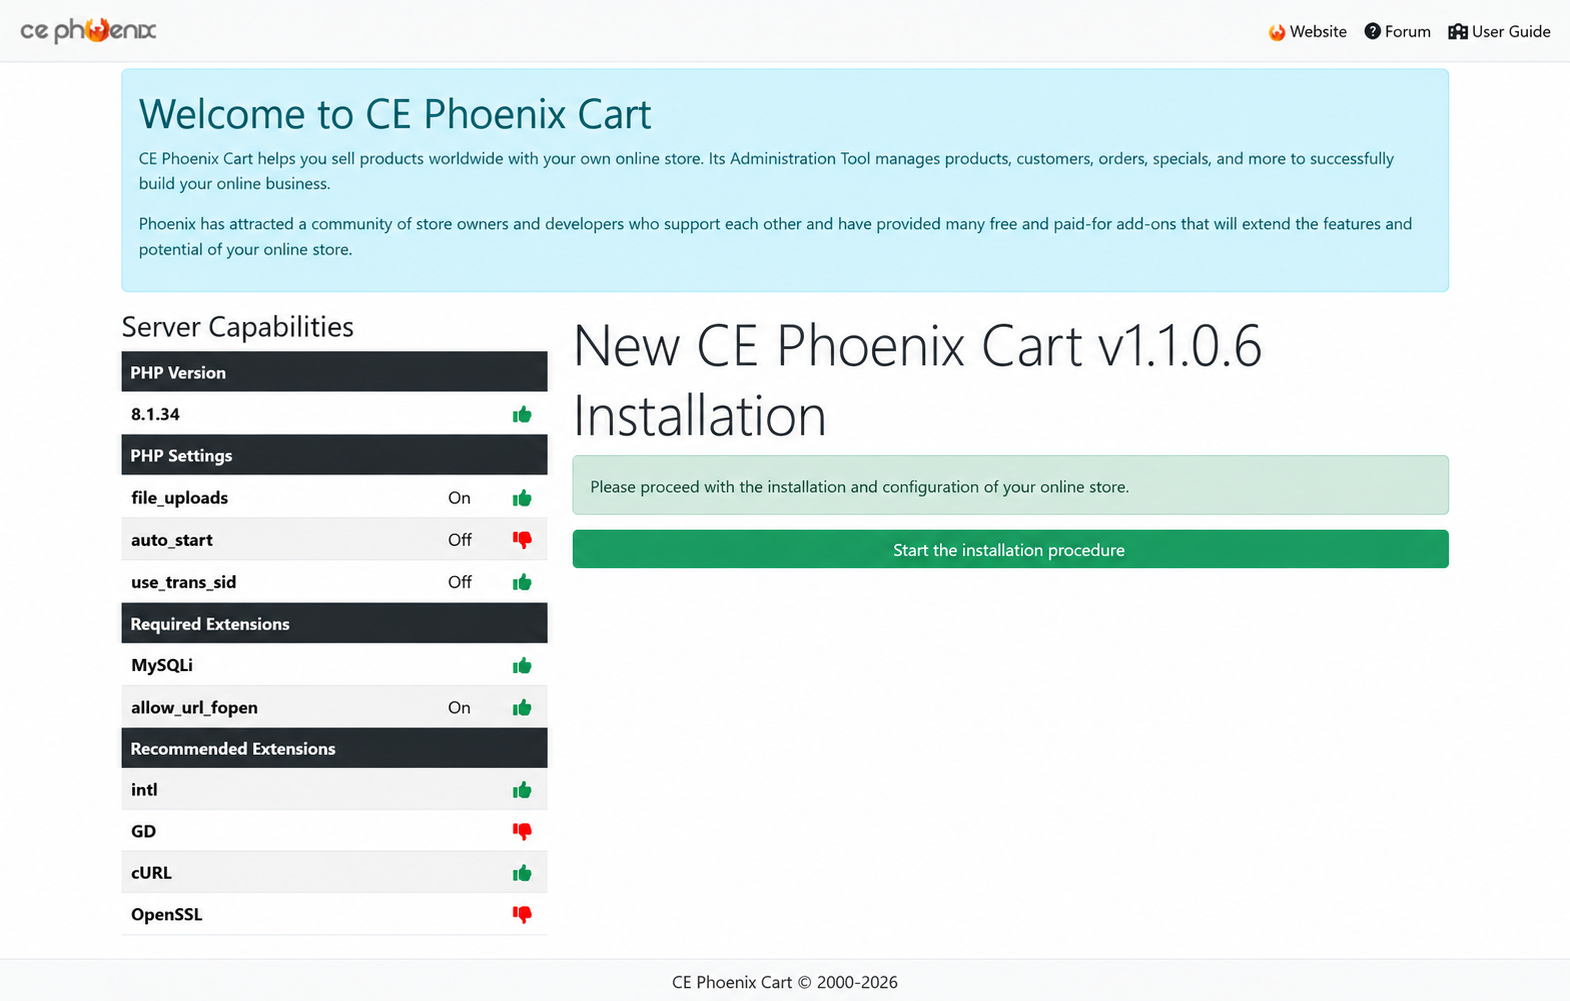
The installer checks whether your web server provides the features required by Phoenix Cart.
Review the checks carefully before continuing.
Resolving server compatibility issues at this stage is much easier than troubleshooting unexpected behaviour after the store has been installed.
Phoenix Cart now needs the database information that you created earlier.
Enter the details exactly as supplied by your hosting provider.
After the details have been entered, the installer will attempt to connect to the database.
If the connection is successful, Phoenix Cart can create the database tables required by the application.
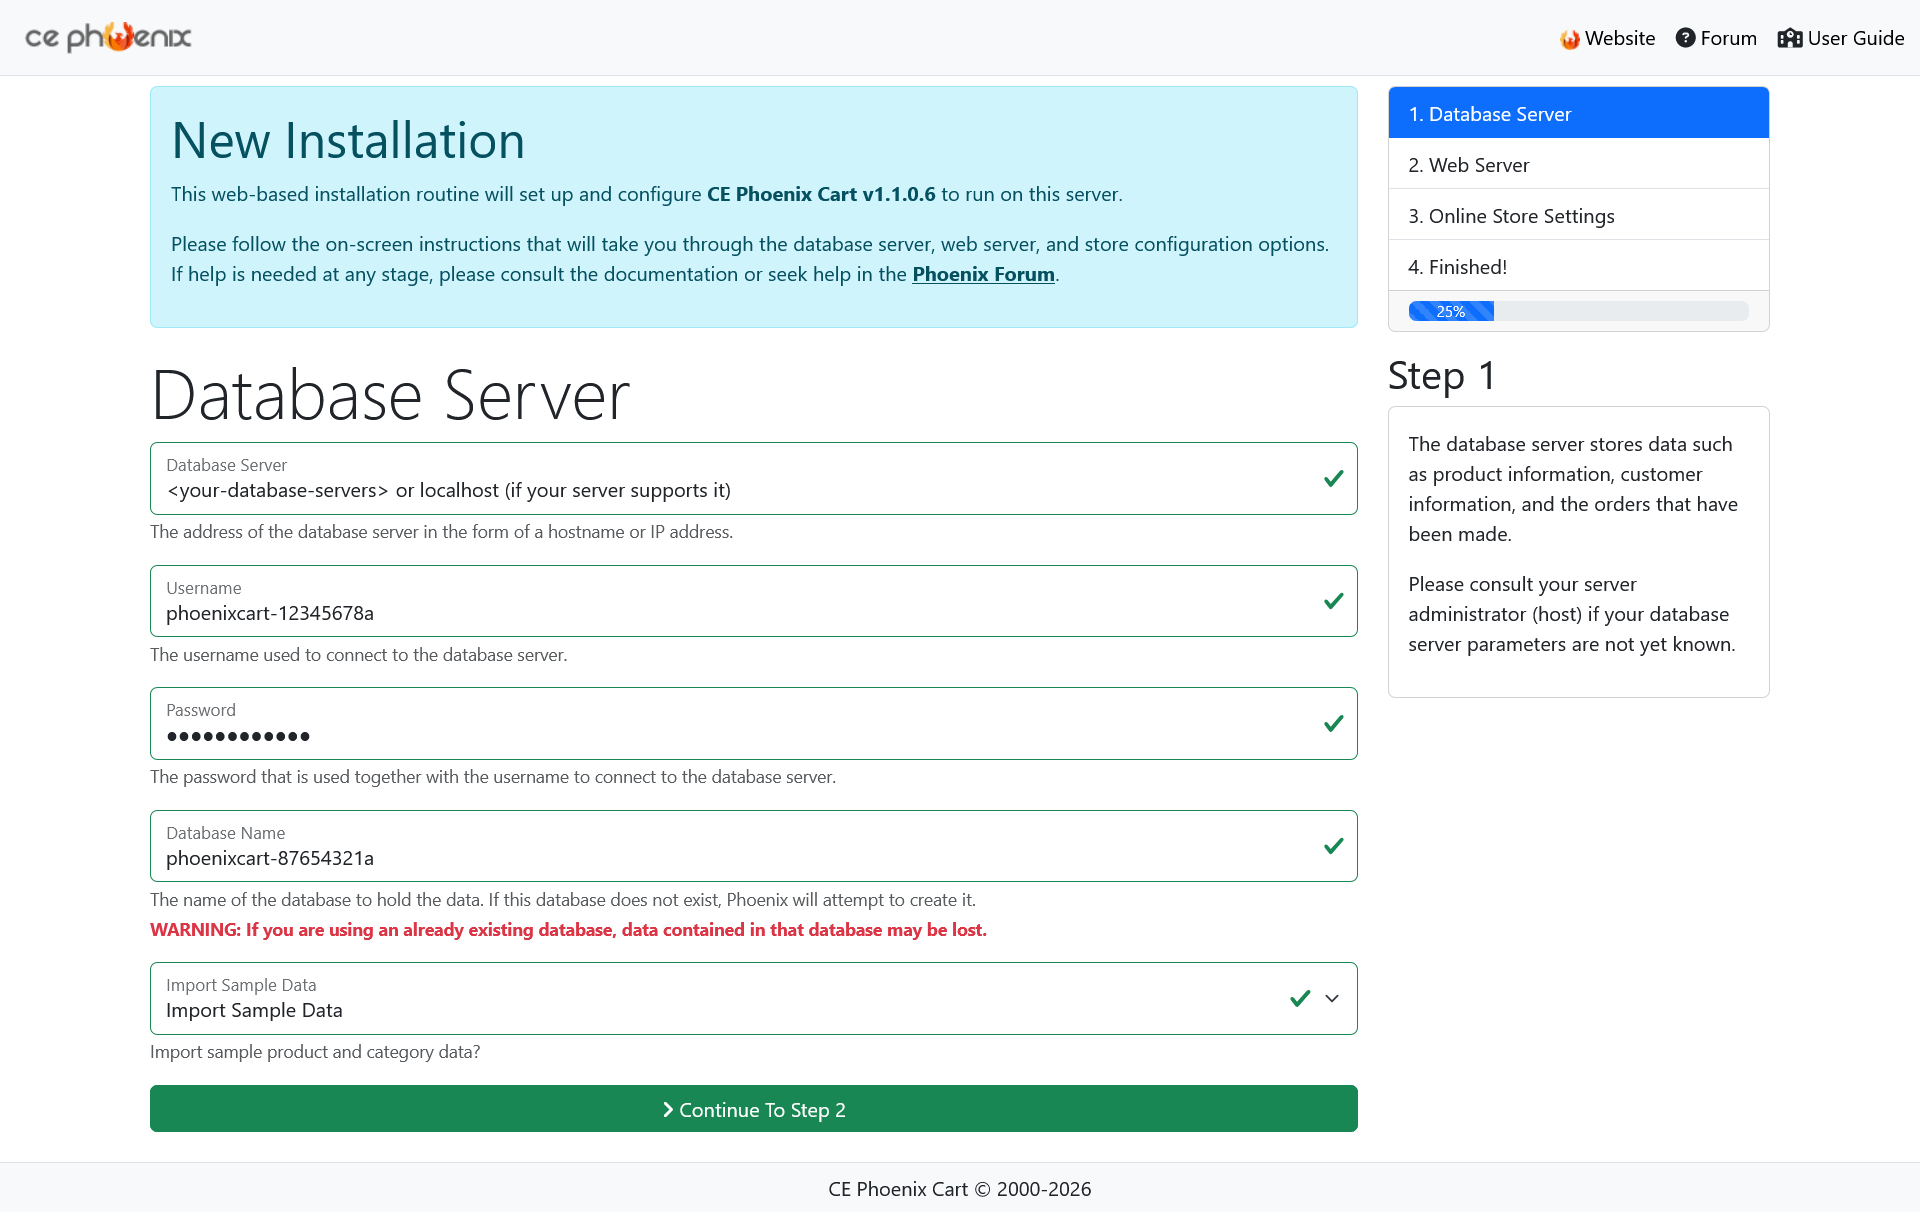
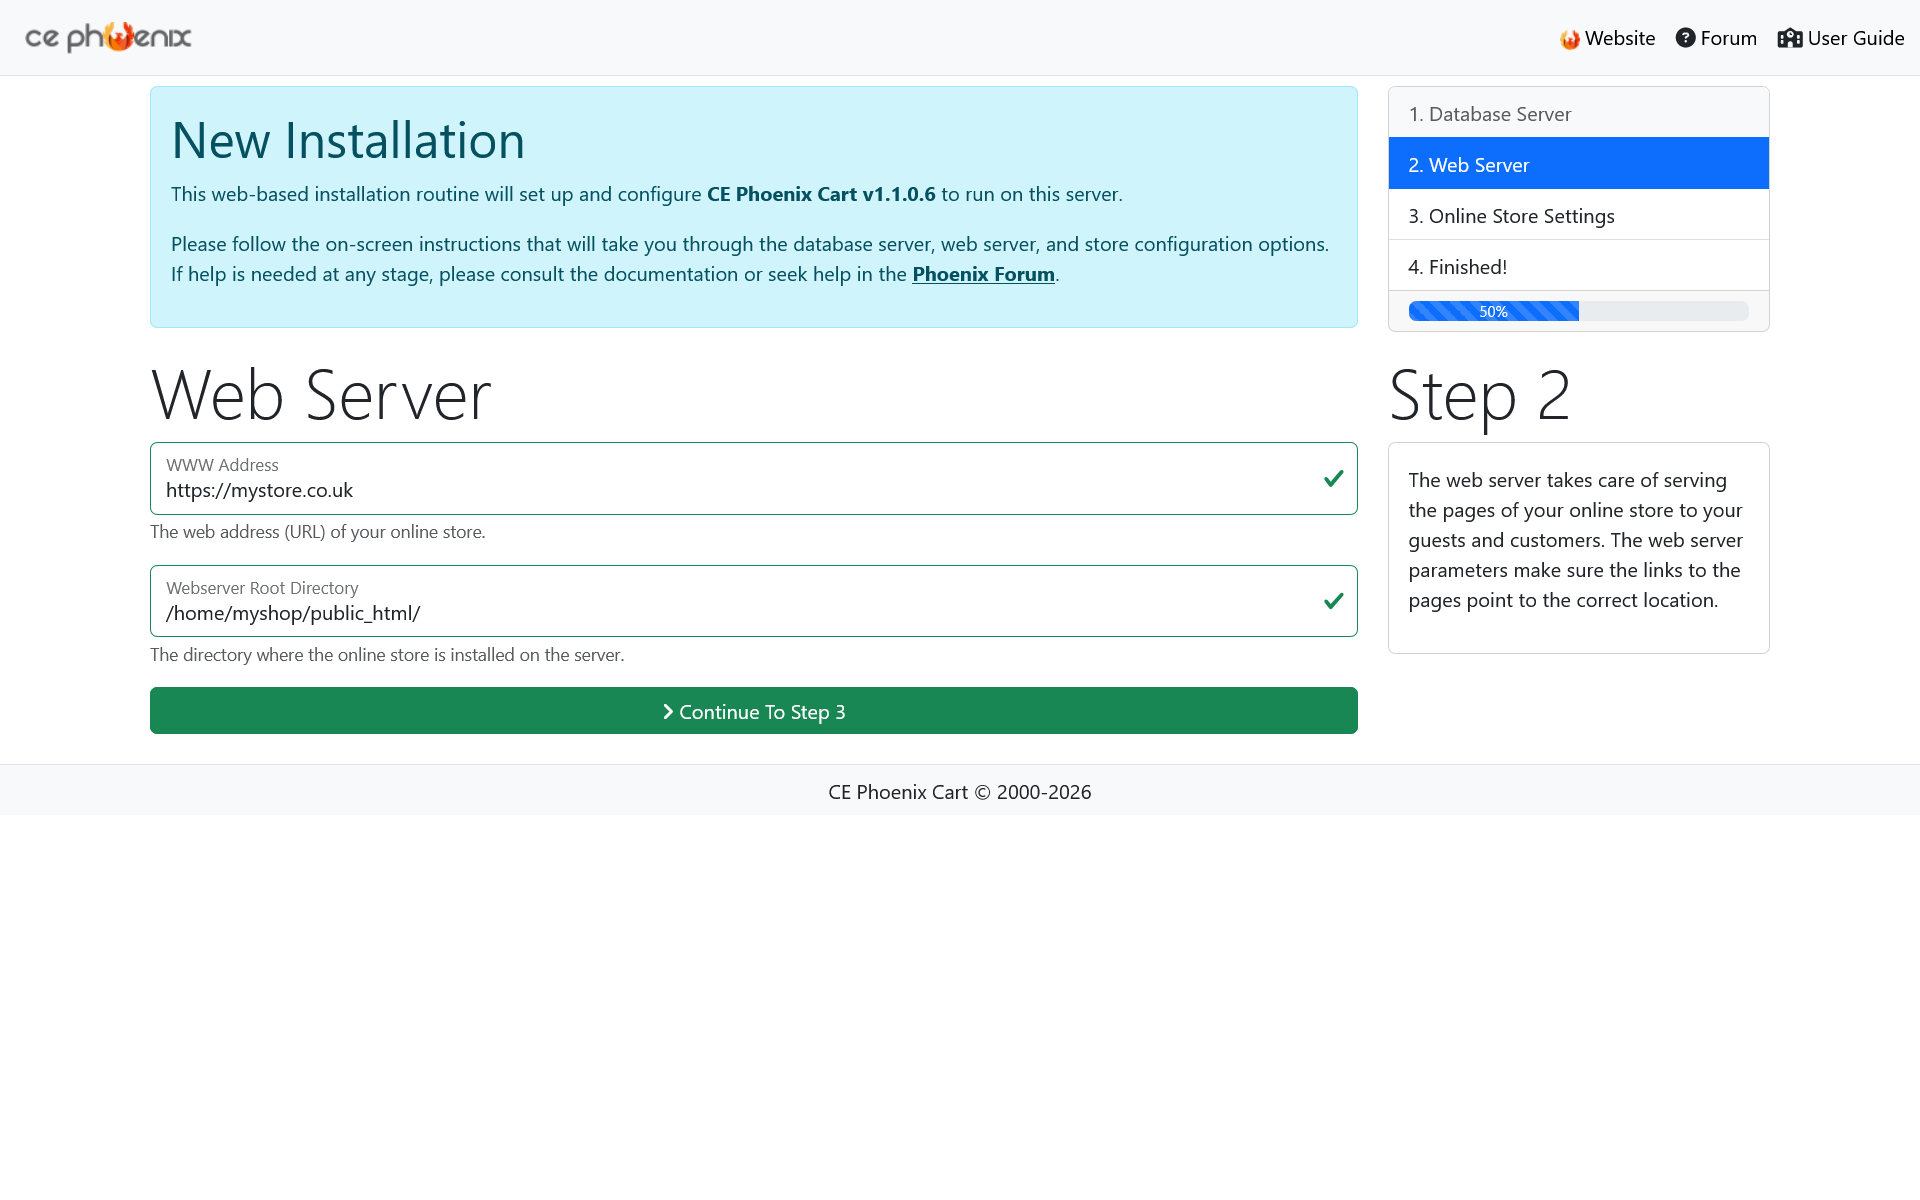
During installation, Phoenix Cart needs to know both the public address of the website and the physical location of the application files on the server.
Much of this information may be detected automatically.
| Setting | Example |
|---|---|
| Website Address | https://www.yourstore.co.uk |
| Webserver Root Directory | /home/account/public_html/ |
If your SSL certificate is active, your website should normally be installed using:
rather than:
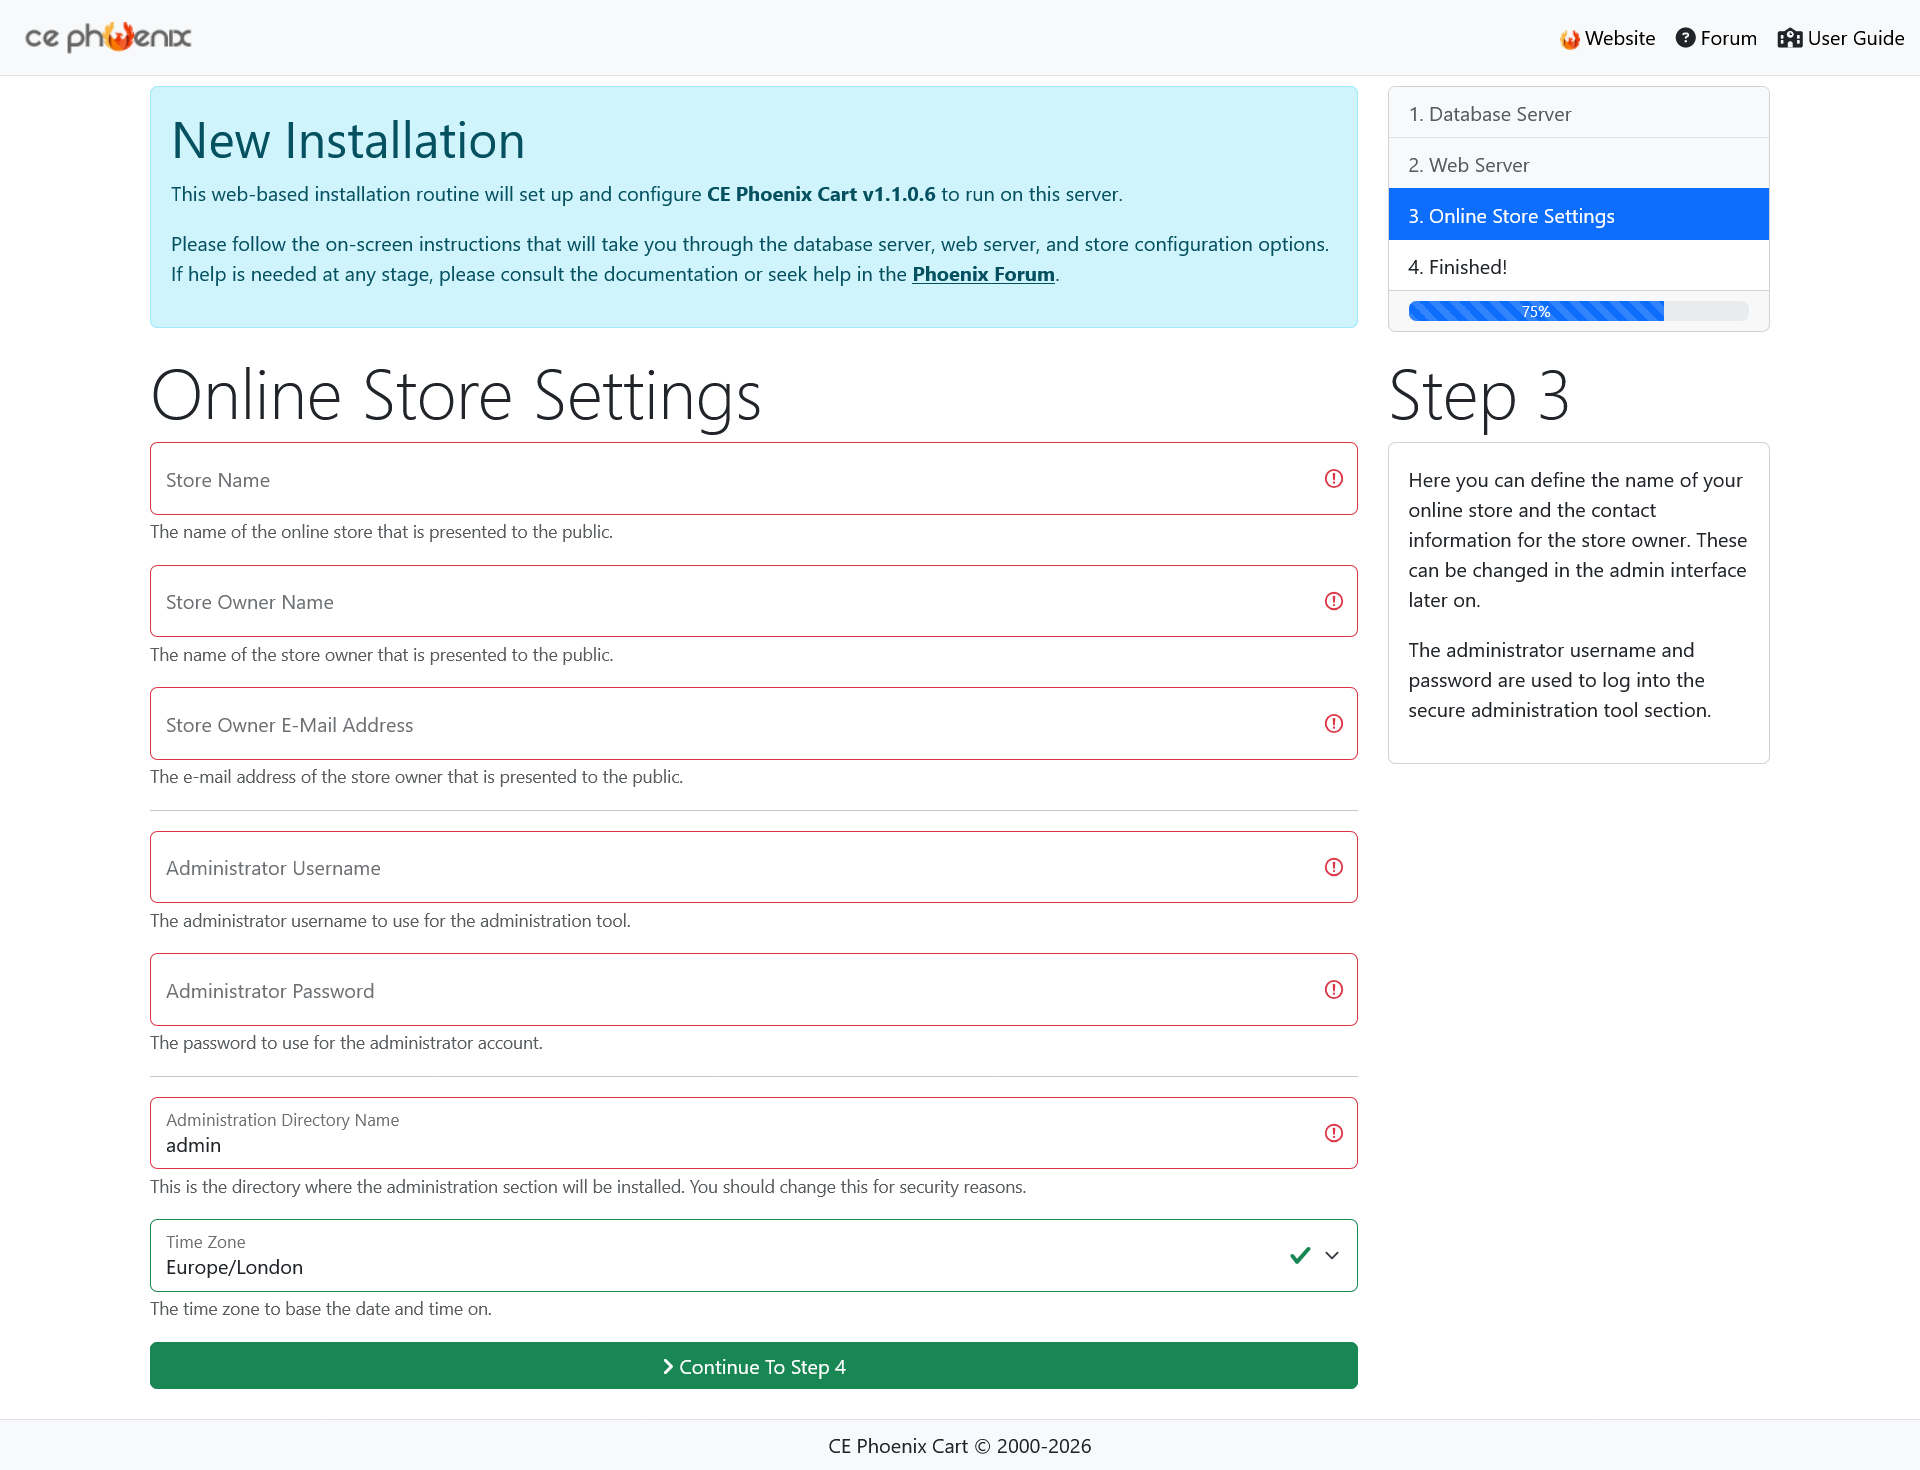
The installer now needs a small amount of information so that it can create the initial Phoenix Cart installation.
Although some of these values relate to your store, at this stage they are simply required to complete the software installation. Detailed store configuration can be carried out afterwards.
Phoenix Cart may allow you to specify or create a non-standard administration directory.
Instead of using an obvious address such as:
you can use a less predictable directory name.
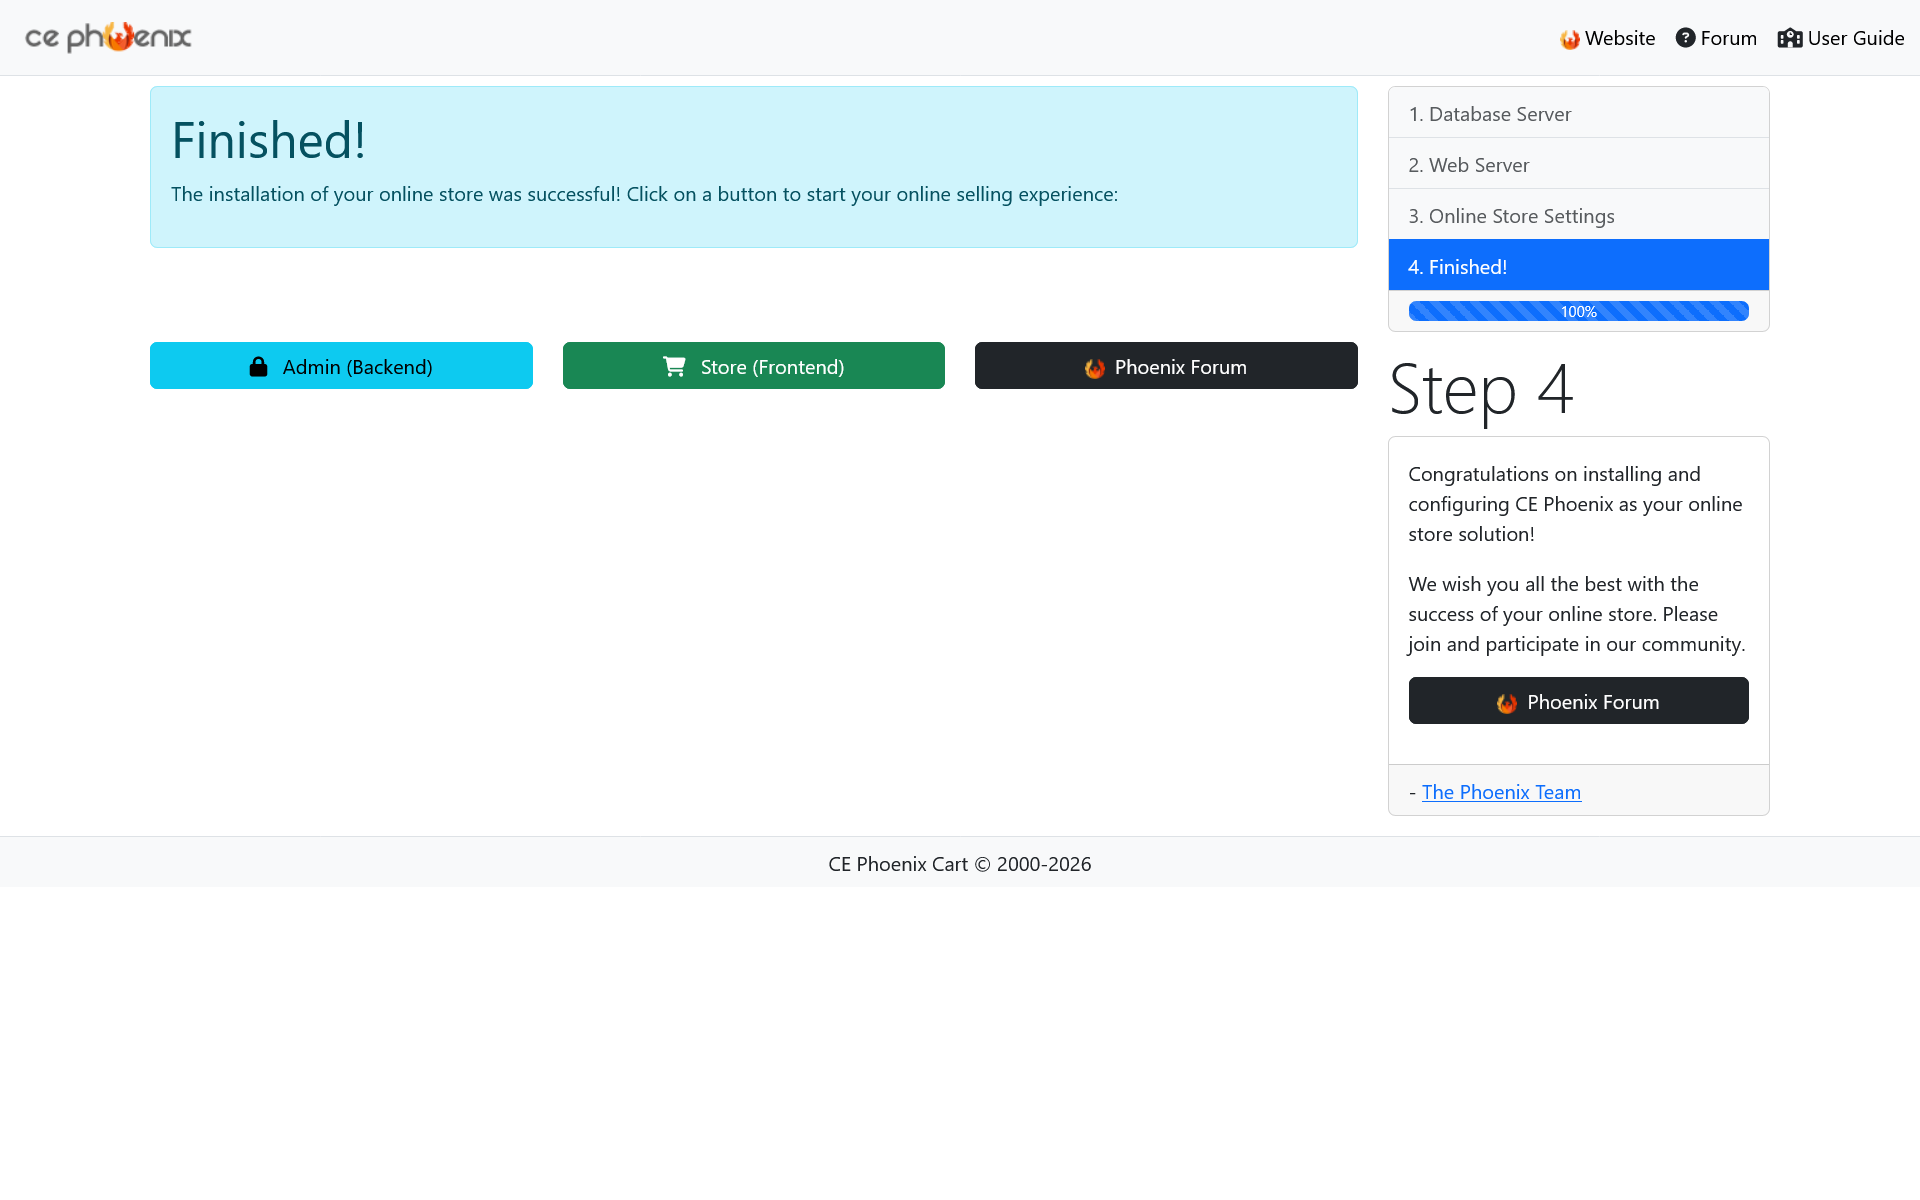
Once the database, server paths and initial administrator details have been accepted, Phoenix Cart can complete the installation.
The installer will create the required database structure and configuration information and prepare the application for use.
When the final page appears, you should see confirmation that Phoenix Cart has been installed.
Before doing anything else, open the main store address in a new browser tab.
If Phoenix Cart was installed in a subdirectory, use the appropriate address:
The Phoenix Cart storefront should now load rather than returning to the installer.

Finally, check that the administrator account created during installation works correctly.
Open the administration directory created during the installer.
Enter the administrator username and password that you created during installation.
If the Phoenix Cart administration dashboard opens successfully, the installation process has been completed.
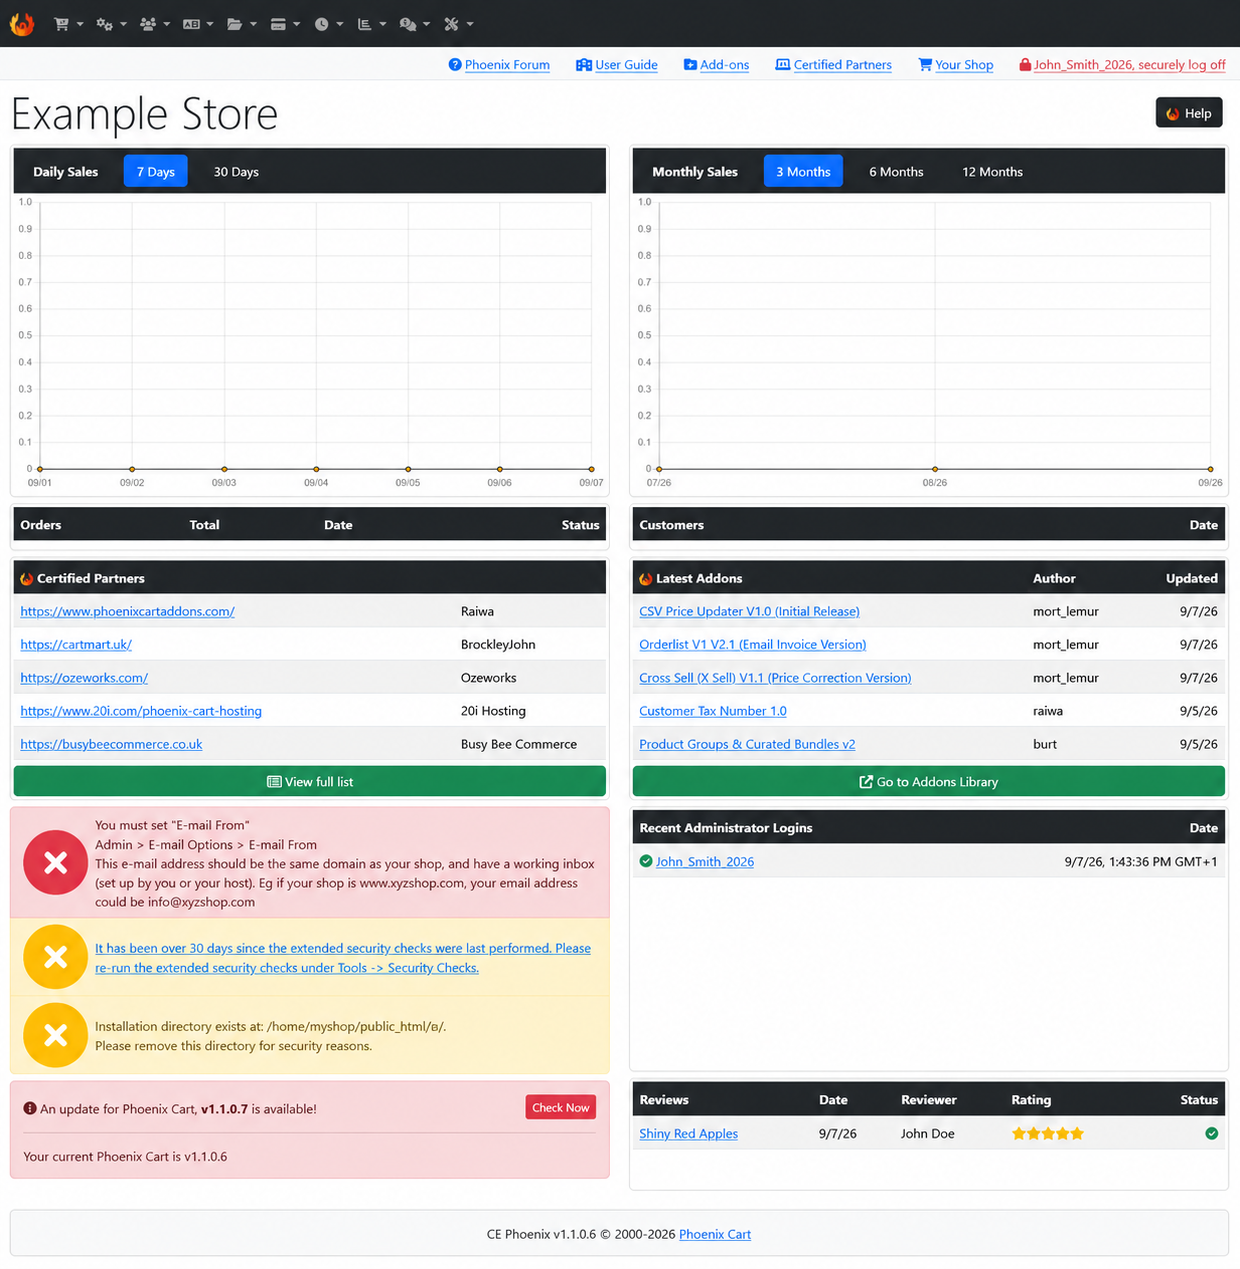
Check that:
This can indicate that the actual Phoenix Cart files are inside another directory rather than directly inside the document root.
Check the uploaded directory structure and move the application contents to the correct location if necessary.
Check all four database values carefully:
Also check that the database user has permission to access the database.
Check that your hosting account meets the minimum Phoenix Cart requirements listed earlier in this guide. Confirm the selected PHP version, required PHP extensions and PHP configuration settings.
If your hosting control panel does not allow these settings to be changed, contact your hosting provider.
Check that a valid SSL certificate has been installed and activated for your domain.
Confirm that all Phoenix Cart files completed uploading successfully and that your server meets the minimum requirements for the Phoenix Cart release you downloaded.
Use the administration directory name entered or generated during installation.
Before moving on to configuring your new store, make sure the basic installation has been completed successfully.
You now have a working Phoenix Cart installation with the application files, database and administrator account in place.
At this point, the installation stage is complete.
Store configuration should be treated as the next stage rather than part of the installation itself.
Keeping these subjects separate makes it much easier to follow the installation process and gives each area of Phoenix Cart enough space to be explained properly.
Need expert Phoenix Cart development services?
Get in touch today.
0 items